 Deutsch
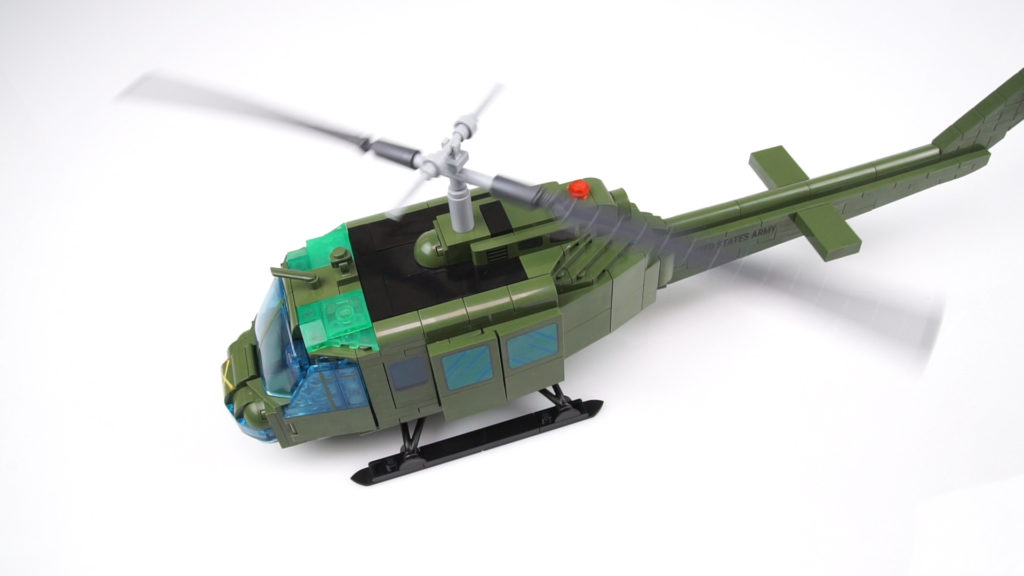
The helicopter from the Vietnam series is not only new in the COBI range, but also the first helicopter in my collection. There are construction techniques here that are not known from the other models.
[set_details]

Brick Quality
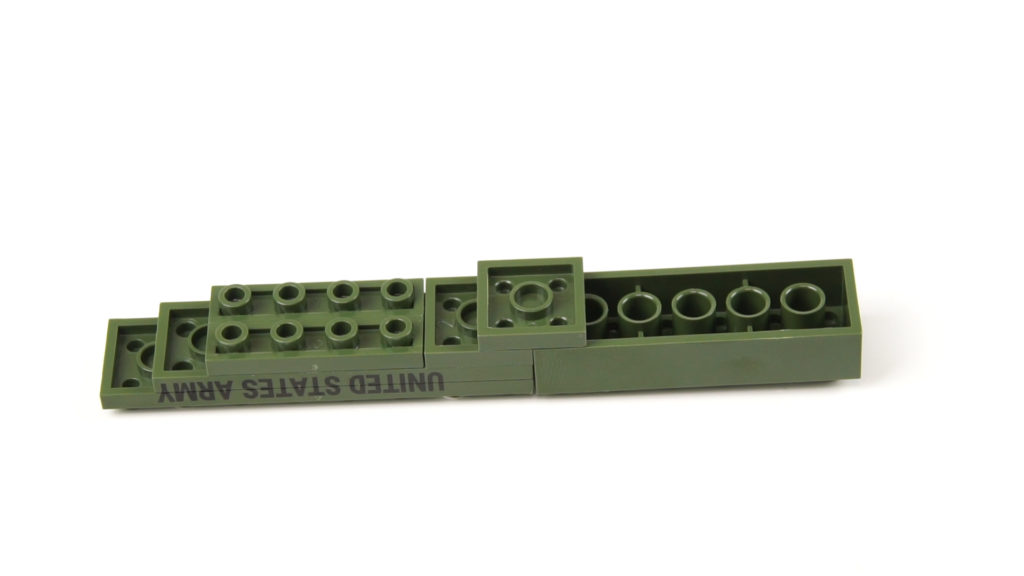
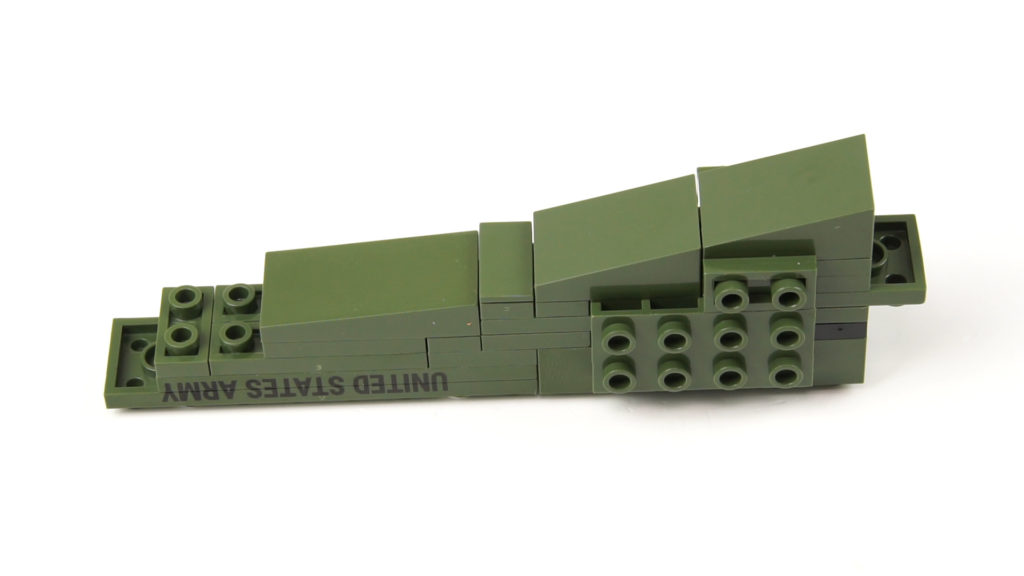
In this set there are some new parts that I have not yet installed. Since there are no stickers, motifs were also printed across several plates. The set also contains a number of transclear parts that are hardly scratched or not milky. All other clamping modules come in the usual quality and have an enormous clamping force.
Instructions
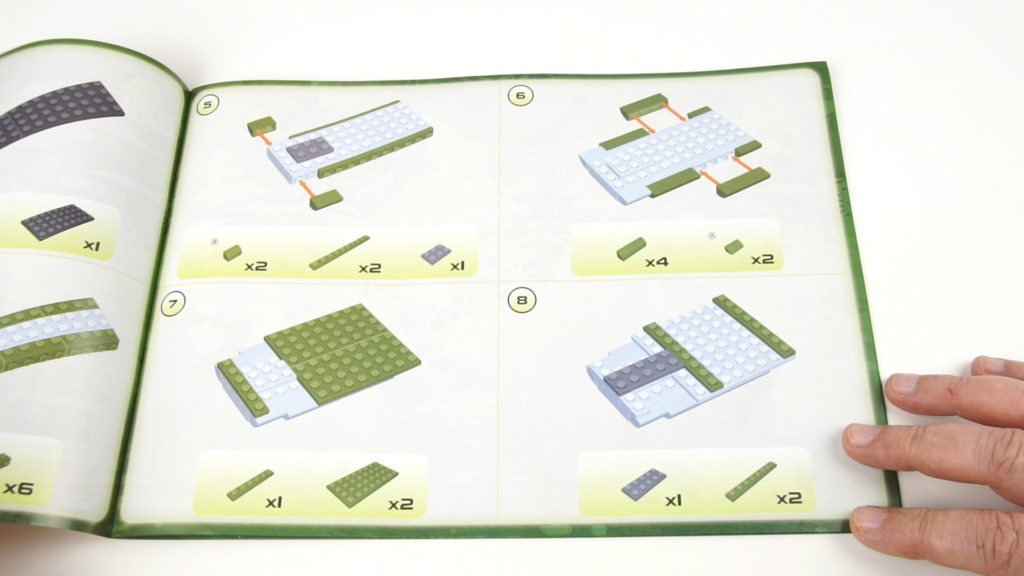
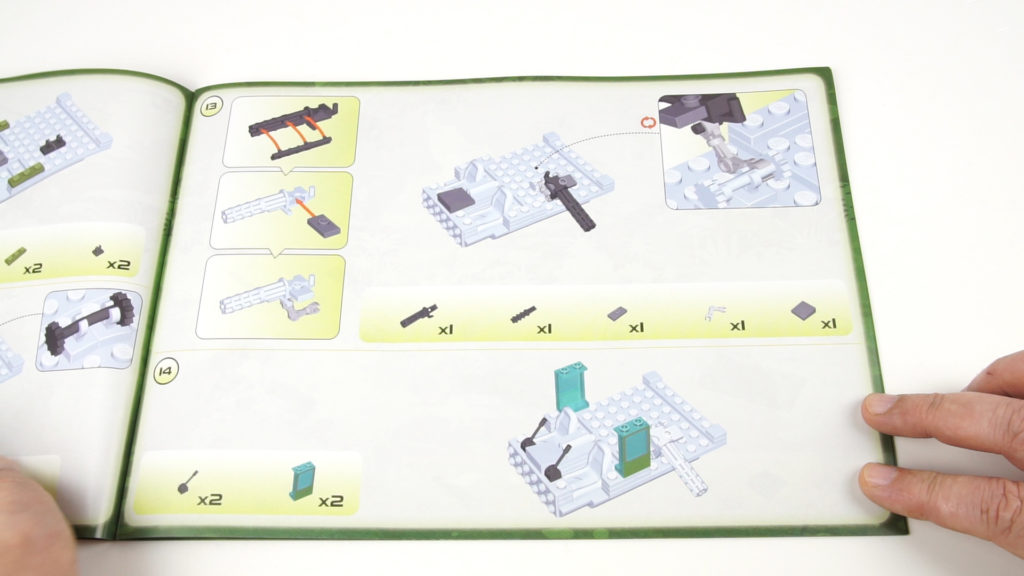
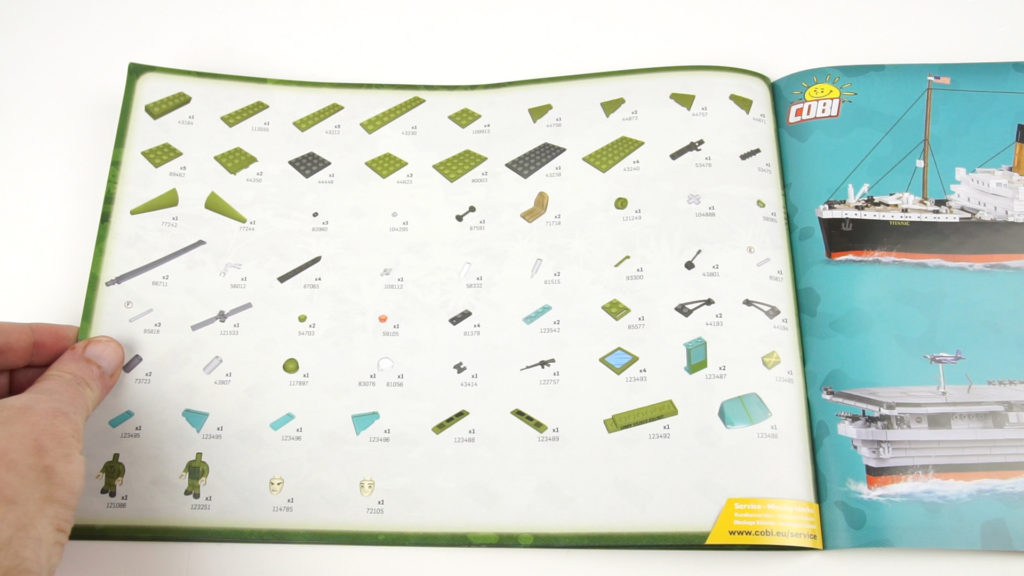
The construction of the Huey is divided into 2 phases. Overall, we get 119 construction steps. At the end of the instructions there are 2 pages with the parts list. Only a few parts are built per construction step, so that these colored parts are very easy to install on the greyed-out surface.
Construction
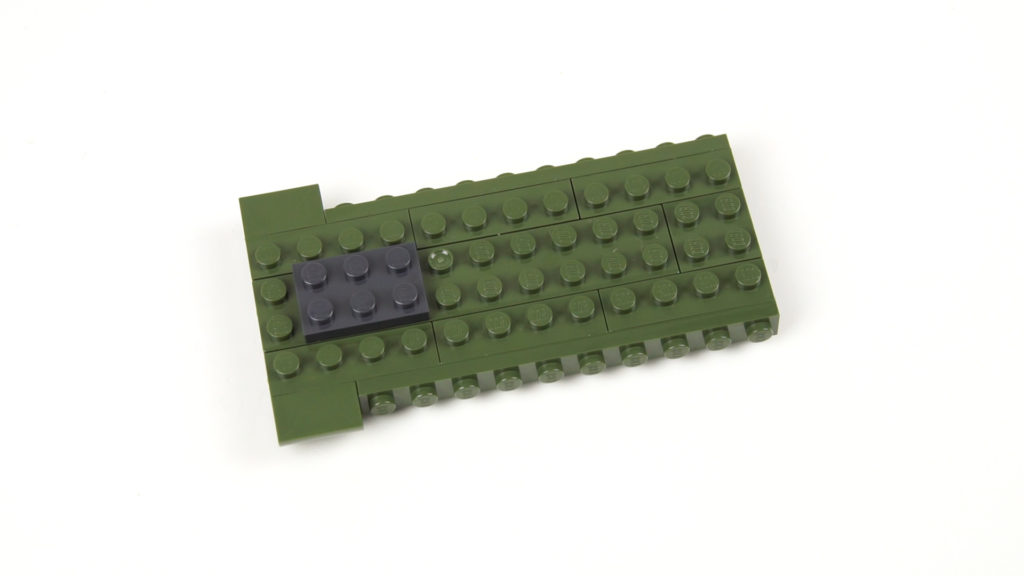
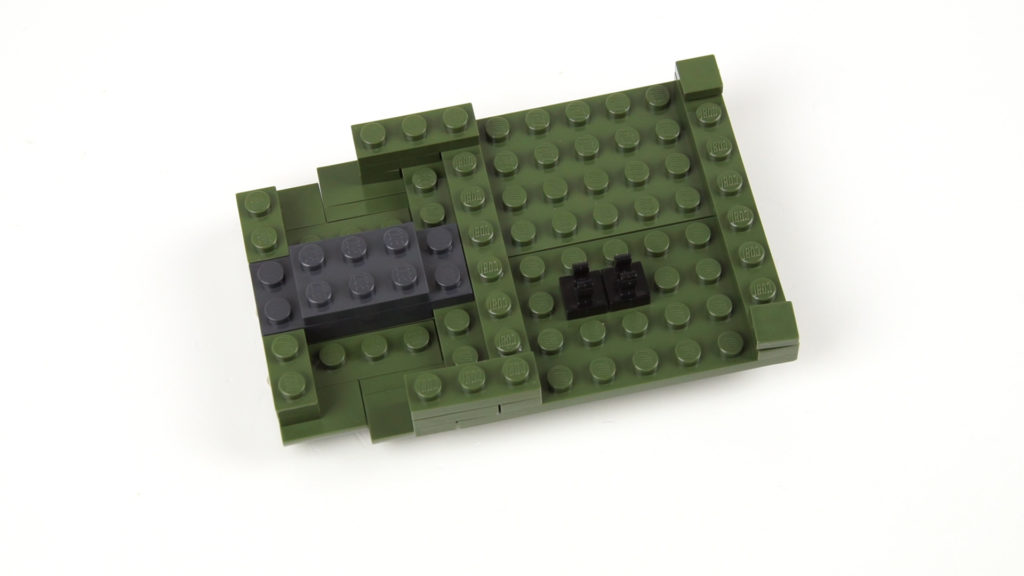
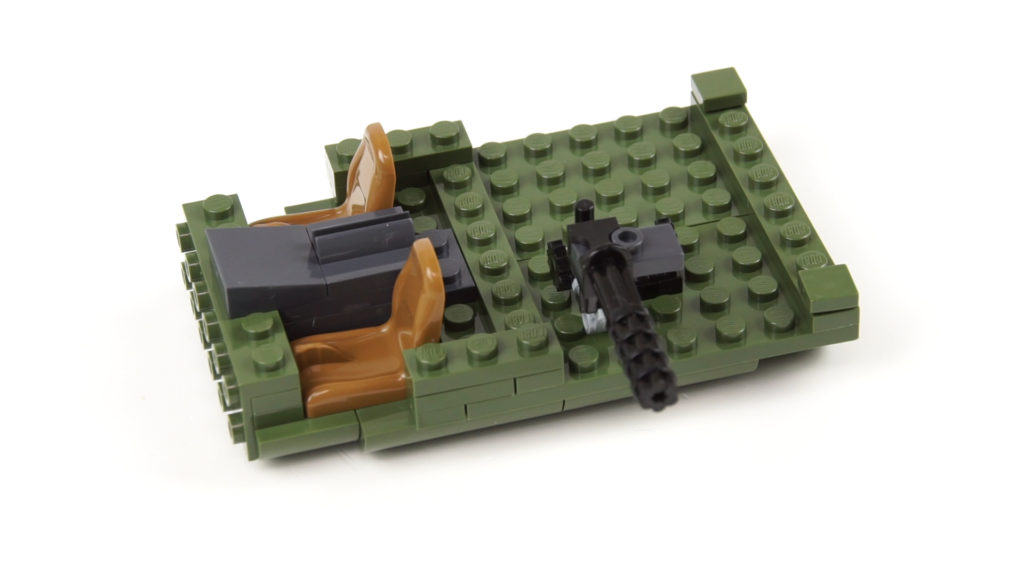
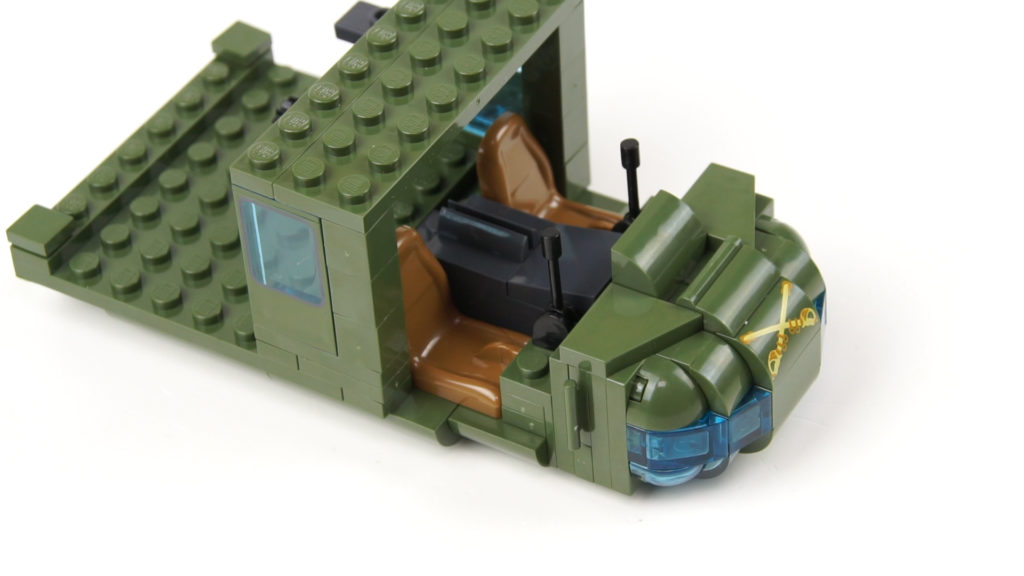
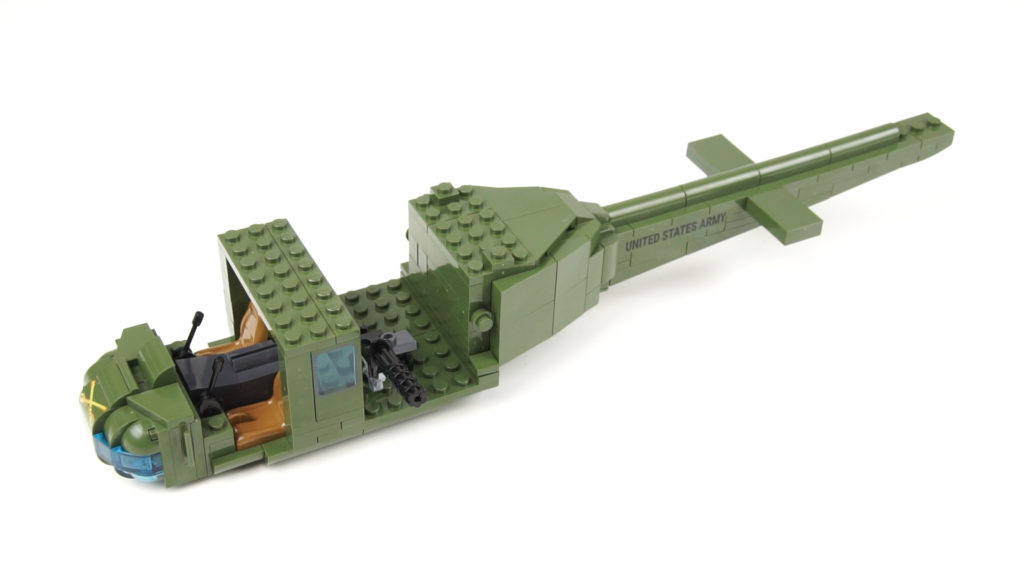
Everything starts off with less spectacular moves with some plates and brackets. Due to the design of the model, we will build a lot separately and then attach it to the Huey. After the seats are placed in the cockpit and the machine gun is built, we start with the front of the helicopter.
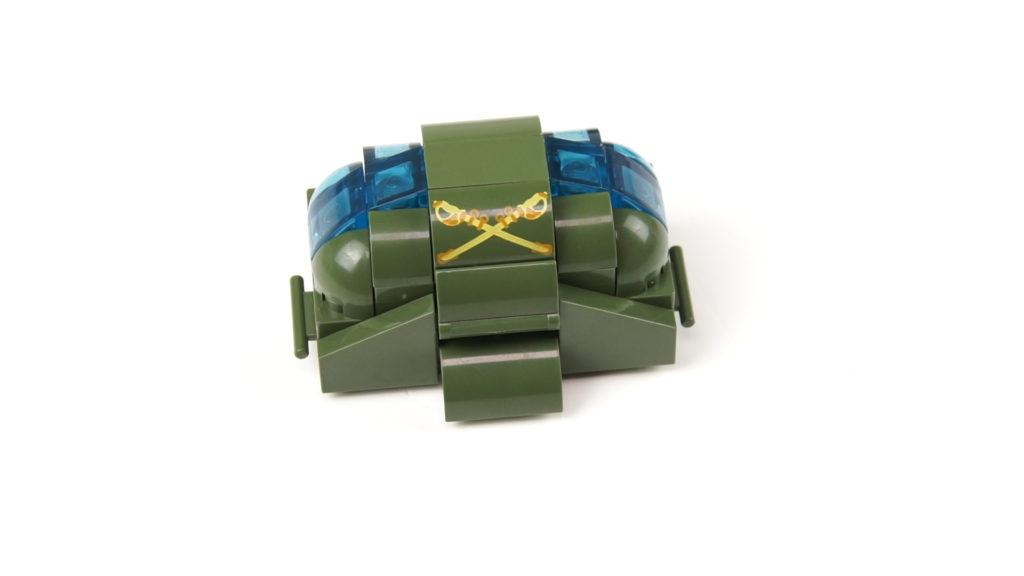
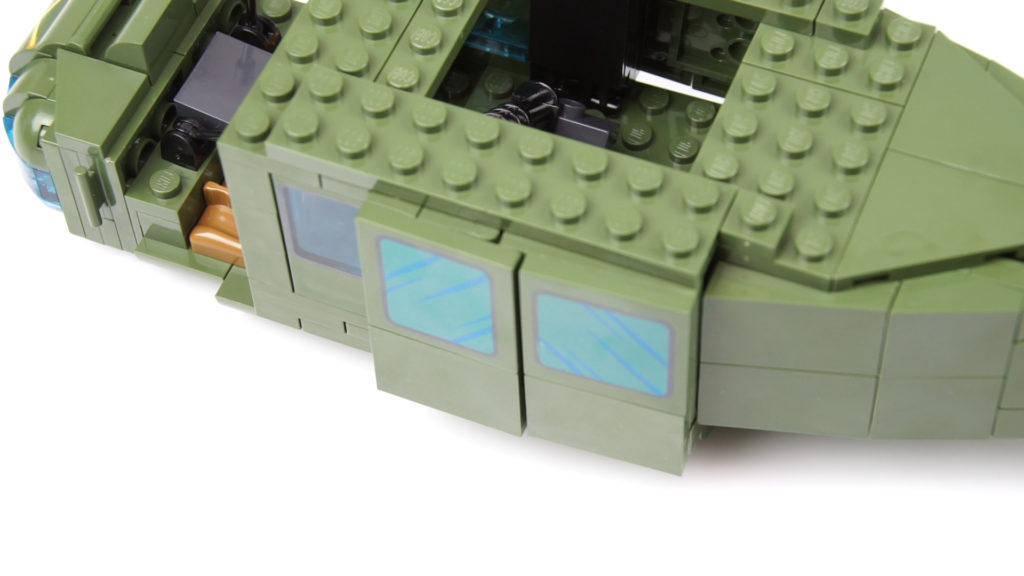
The first printed part is also installed there. The curves are made using slopes, some are transparent. After the front has been placed on the model and 2 side windows have been installed, we start with the tail rotor.
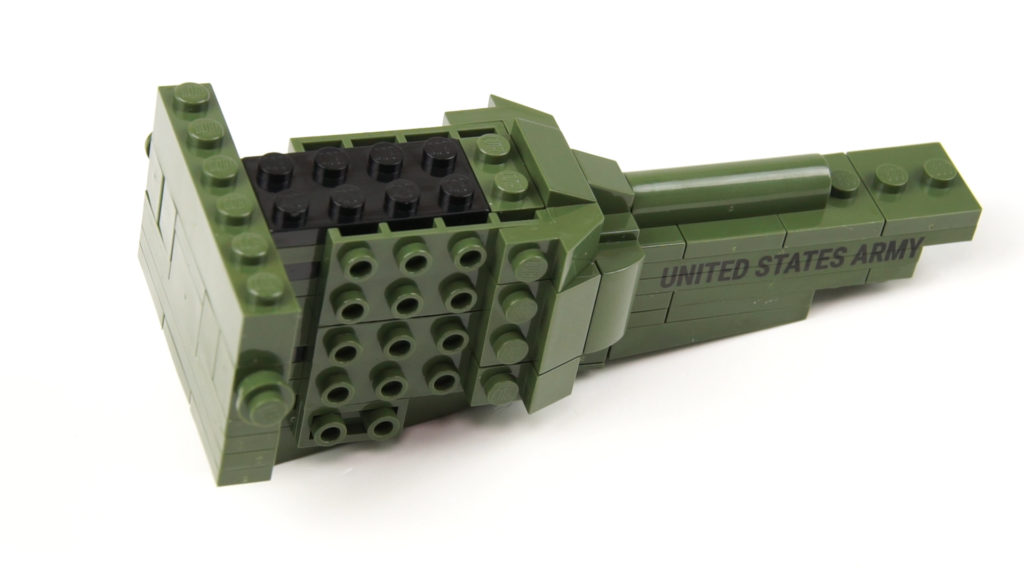
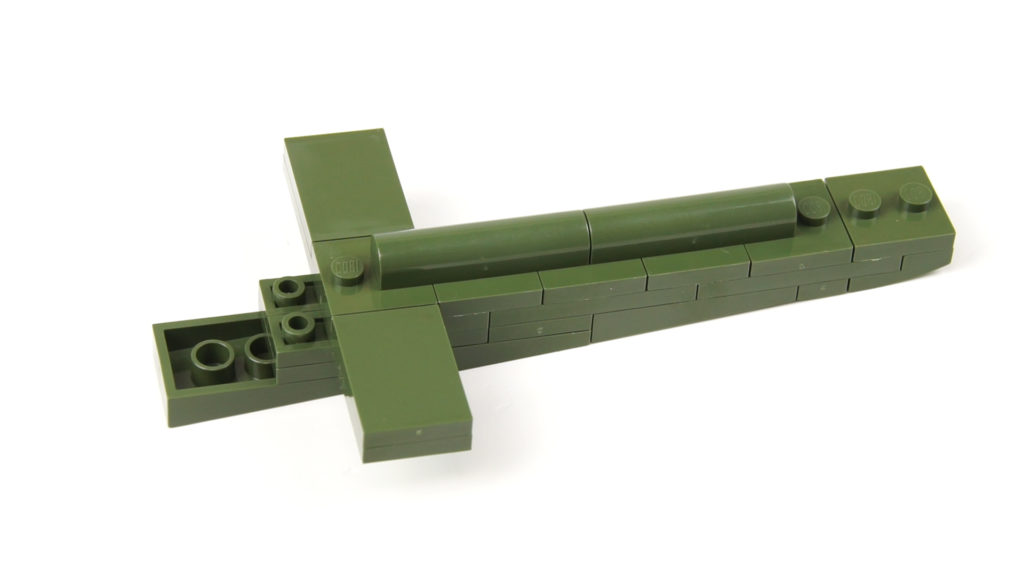
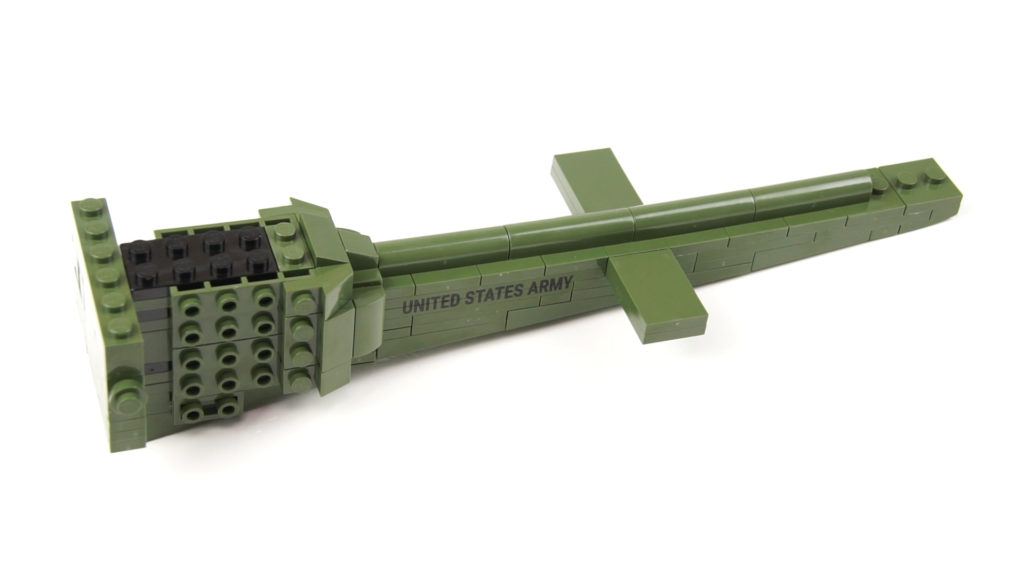
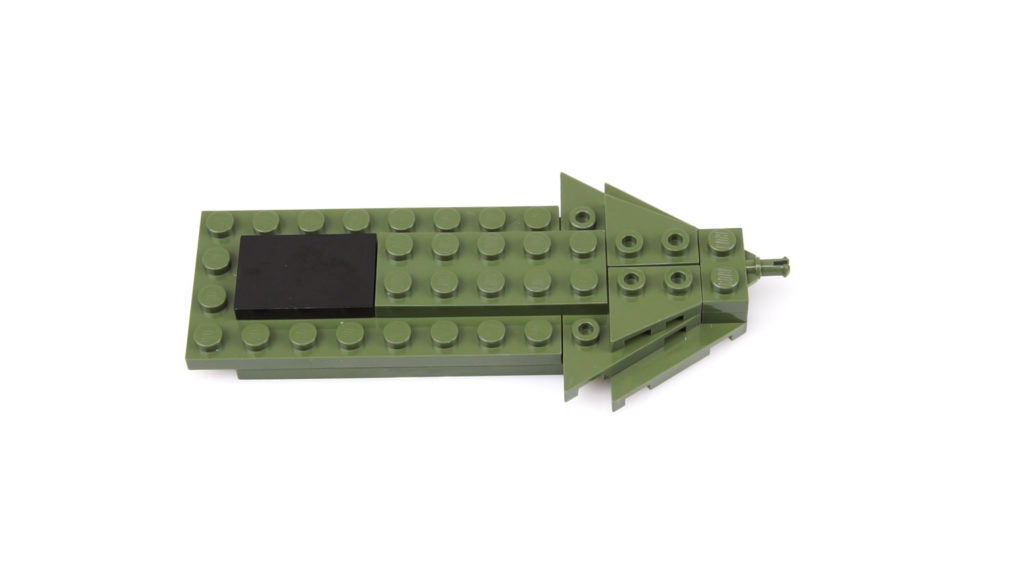
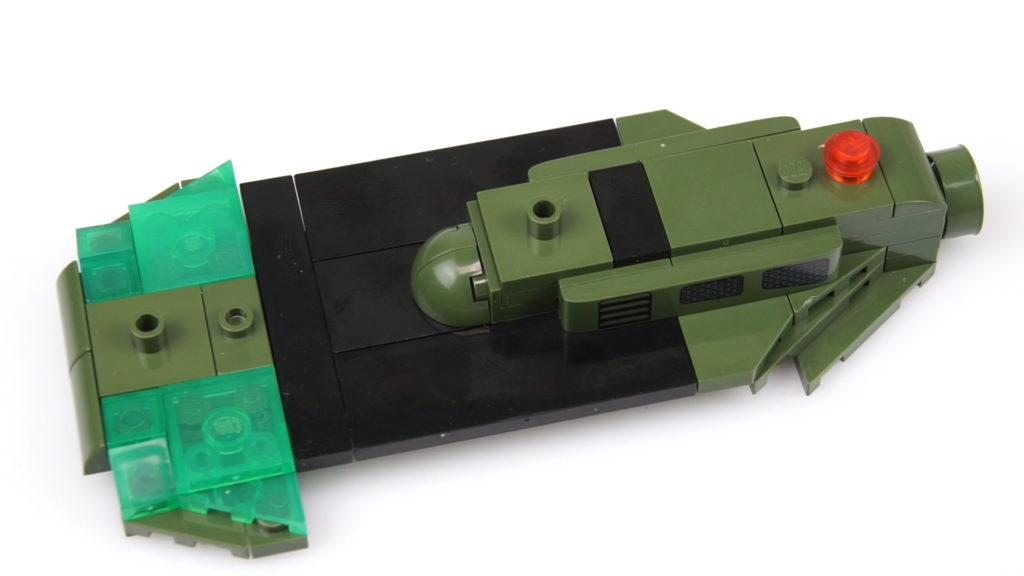
Since parts of the fuselage also belong to the tail rotor, this part is divided into several steps. After the 3 parts have been built and assembled, the side panel must be built, which is attached by reversing the direction of construction. We are already used to this from the tank models.
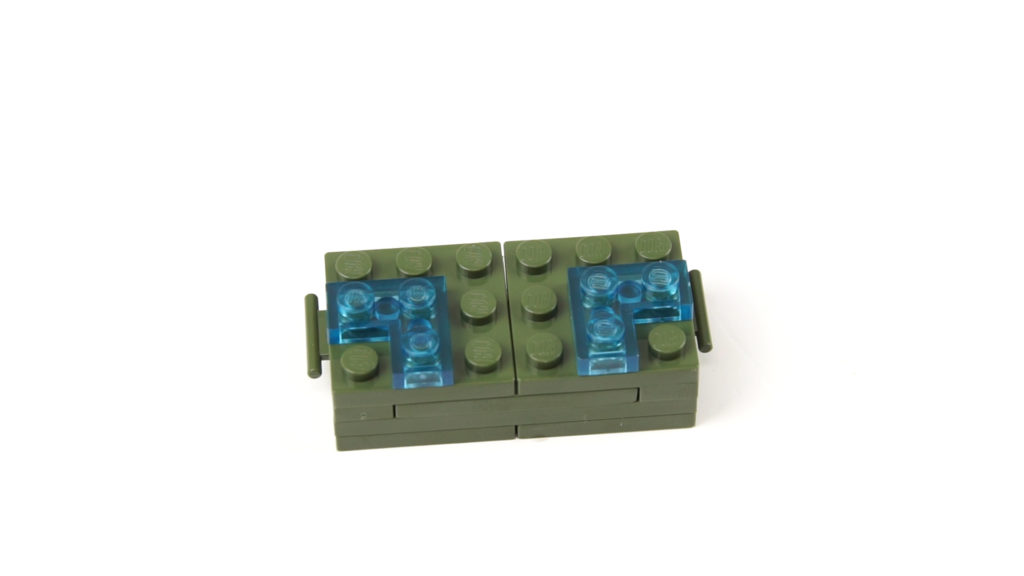
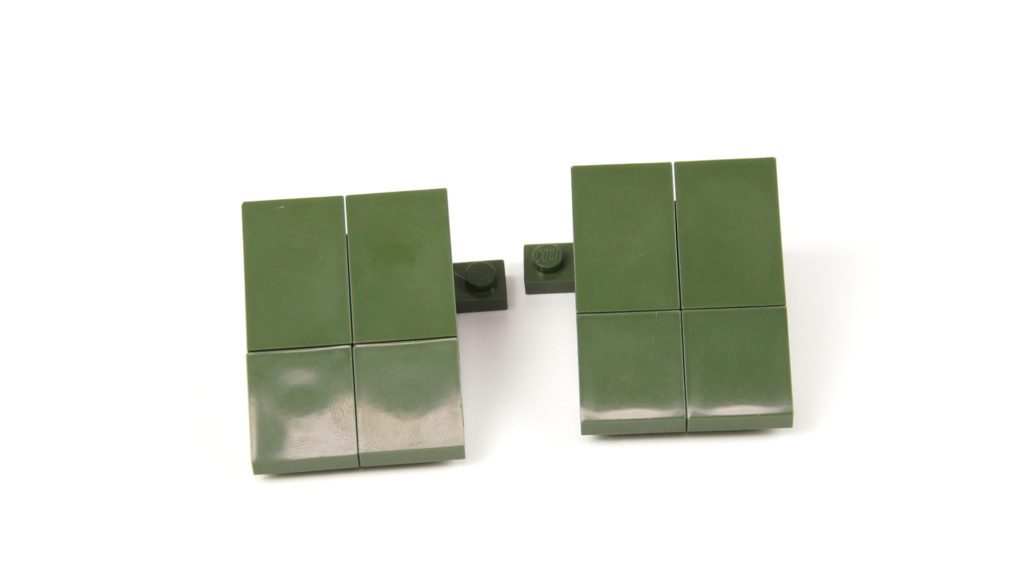
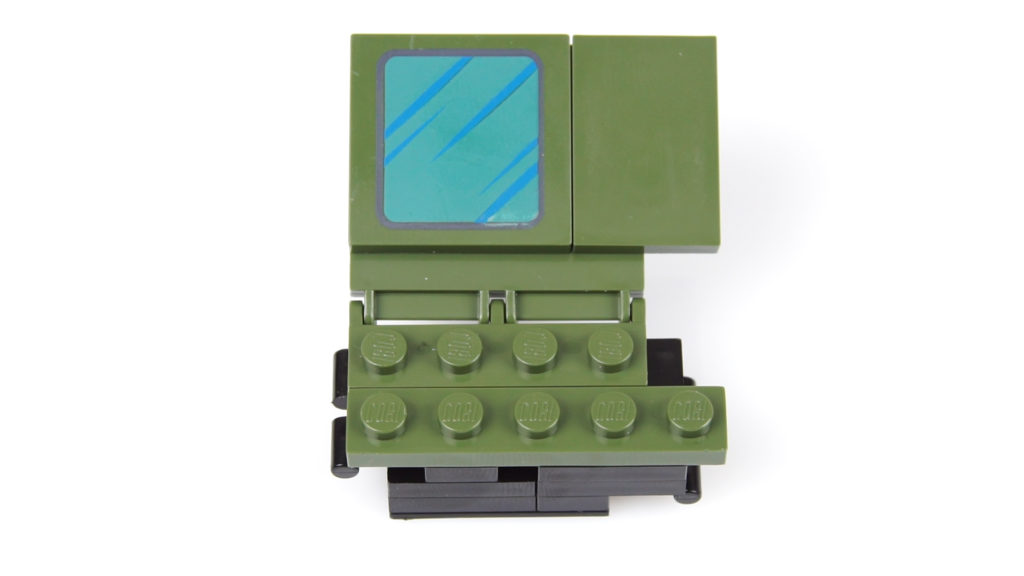
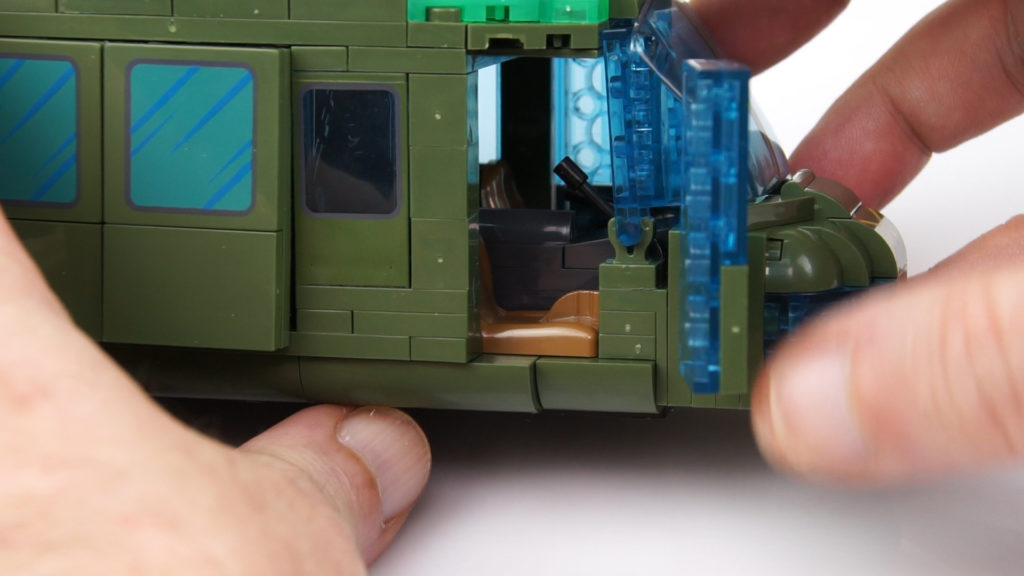
Now we can see the entire fuselage, even if the actual tail rotor is still missing. Before it is your turn, we first build the two sliding doors. The hinge in the middle allows the doors to snap and adapt to the shape of the helicopter. At the same time, locking is also possible. Time to shoot the rump and build the roof.
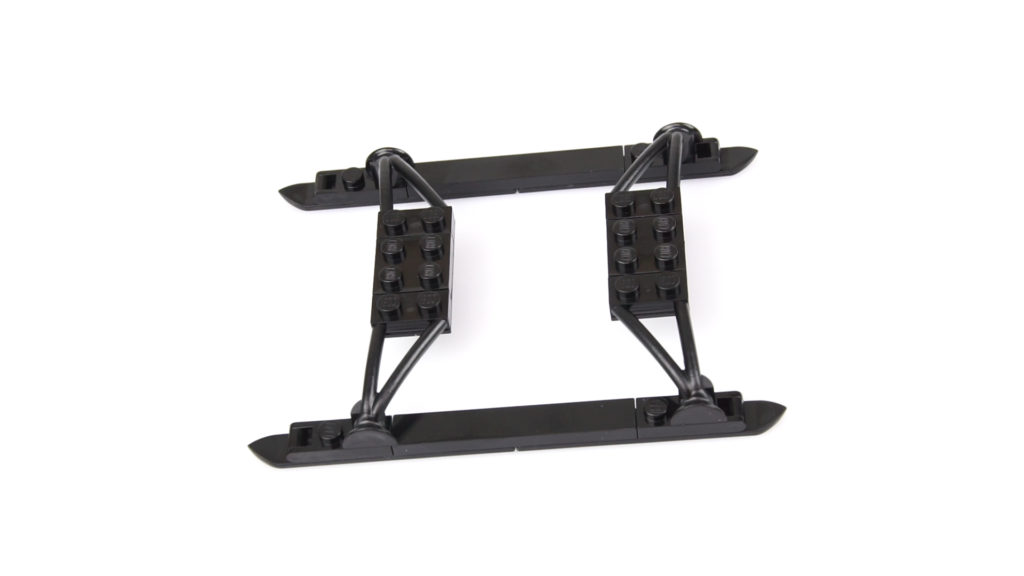
Many details are used here. Unfortunately, it is placed over the entire surface and cannot be removed without destroying the model. So the Huey is hardly playable, because you can’t get to the figure that serves the MG. The windscreen consists of a printed molded part that is attached with 2 C-Clamps. It is very stable and does not wobble. The runners are built in just a few steps and now the rotor blades for the tail rotor come to the fuselage.
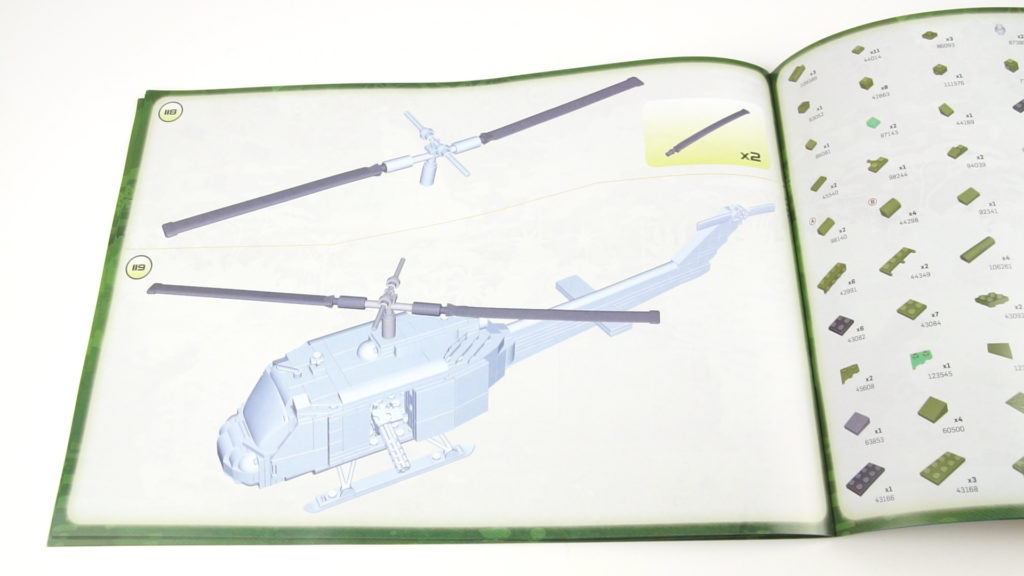
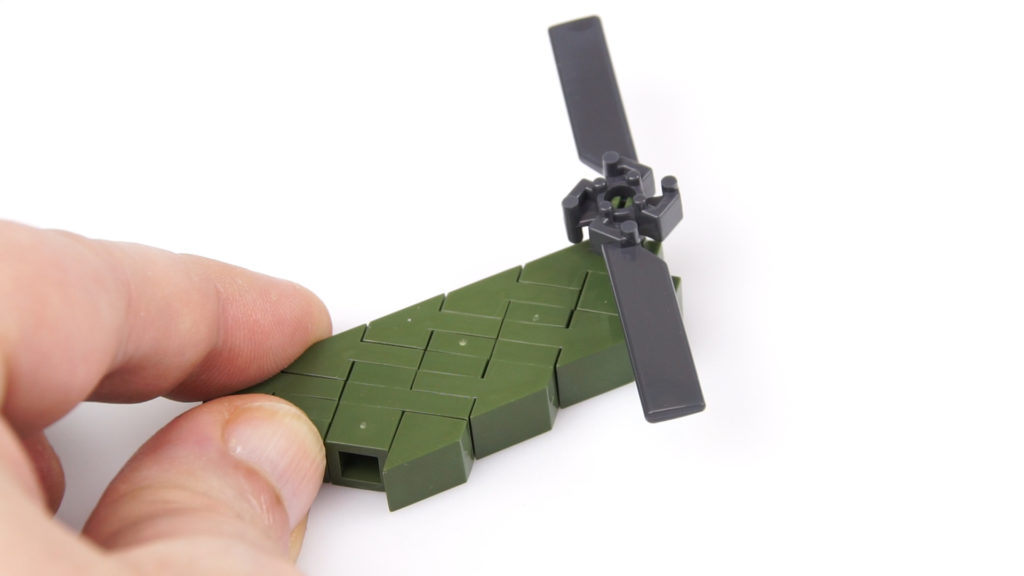
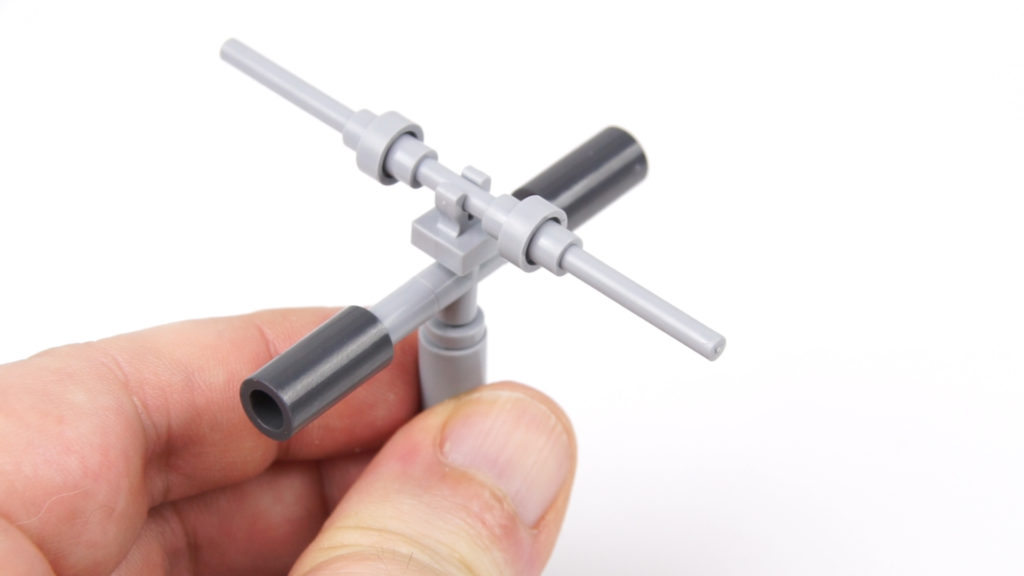
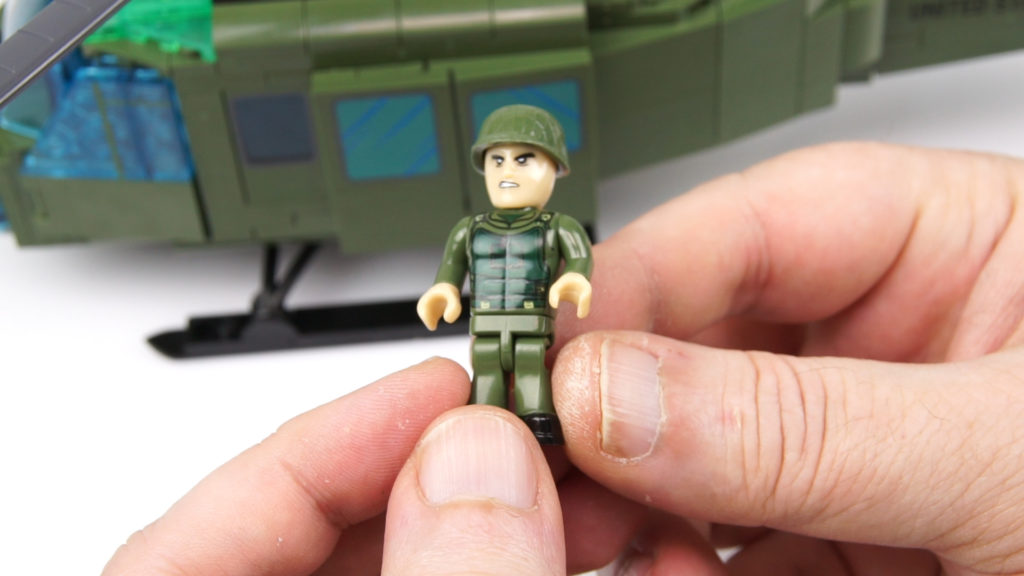
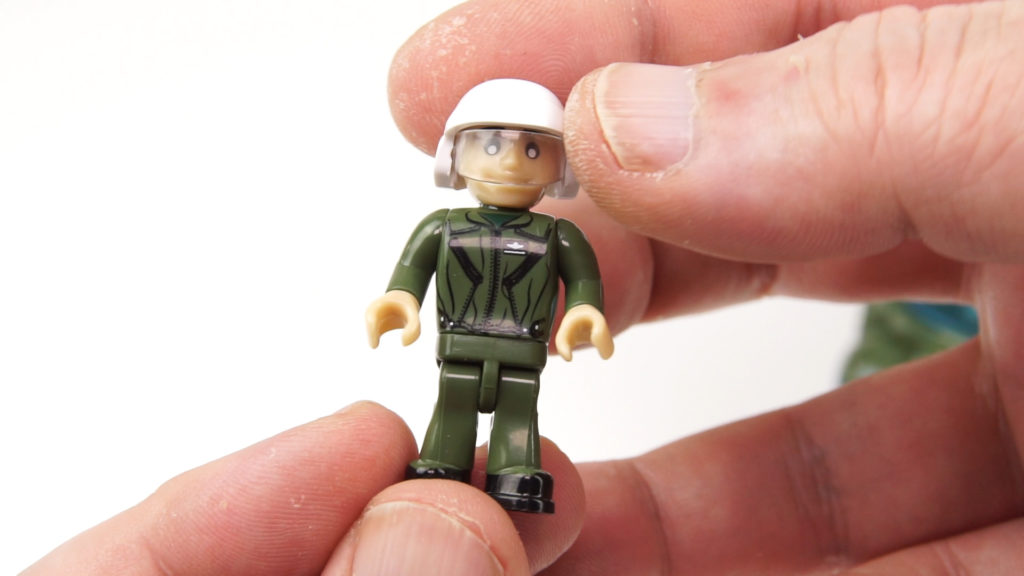
The main rotor is quite simple and is very easy to run. Nevertheless, it cost me a lot of nerves. The sleeves, into which the two rotor blades have to be inserted, always shift to the center, so that the two rotor blades do not fit into them. After a few tries, it worked. The set contains 2 figures, one of whom apparently trained diligently, as you can see from the six-pack.
Conclusion:
Helicopters are not really my thing, but building this model was a lot of fun. Apart from the rotor blades, everything worked smoothly. However, the Huey is less suitable as a game model. It is very stable, but you cannot get to the most important playing areas.

This post is also available in Deutsch.
 (0 ratings)